Introduction
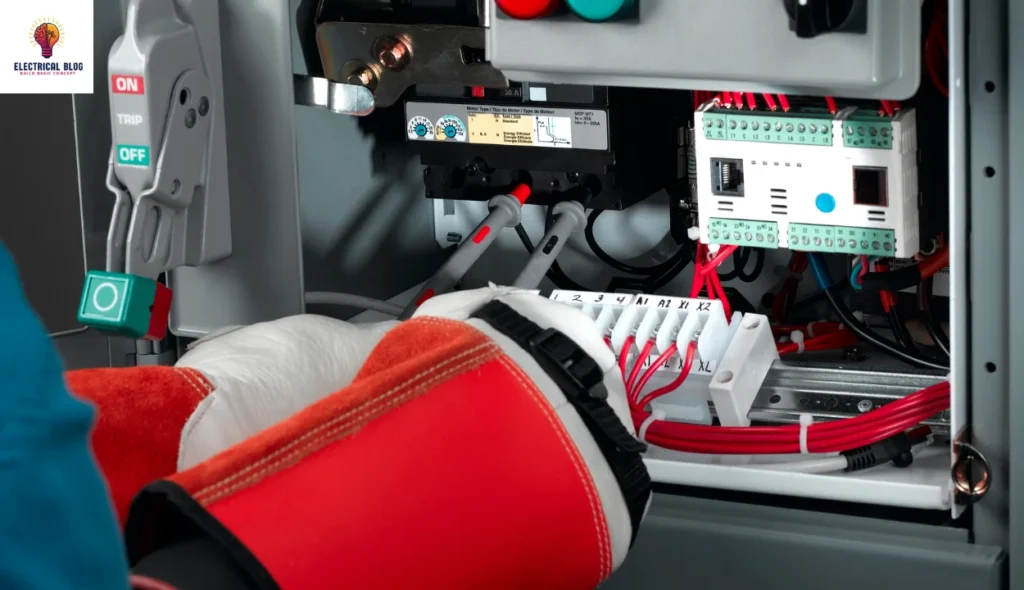
Circuit breakers are vital in electrical systems. They protect circuits from overloads, short circuits, and faults. They must disconnect the electricity during abnormal conditions. This prevents fires, equipment damage, and dangerous situations. However, all electrical devices wear out and can fail without warning. This includes circuit breakers. That’s where routine testing of circuit breaker becomes essential. Testing of circuit breaker is vital. It ensures these systems work. It maintains a safe, reliable, and efficient electrical infrastructure.
The Importance of Circuit Breaker Testing
Testing circuit breakers is essential. It ensures they can perform three tasks.
Conducting current efficiently when closed.
Insulating contacts effectively when they are open.
Interrupting fault currents quickly and reliably during malfunctions.
Routine testing of circuit breaker ensures their functionality and reliability. Regular maintenance finds problems before they cause failures. It ensures the system is ready to operate when needed. Testing of circuit breaker reduce the risk of electrical accidents. They also cut downtime and costly repairs in homes, offices, and factories.
Testing of circuit breaker guarantees consistence with wellbeing guidelines and guidelines. This is essential for businesses that depend on delicate electrical frameworks. They must run continuously. Routine tests provide peace of mind. They ensure the system is up to code and working well.
Types of Circuit Breaker Tests
Type Tests
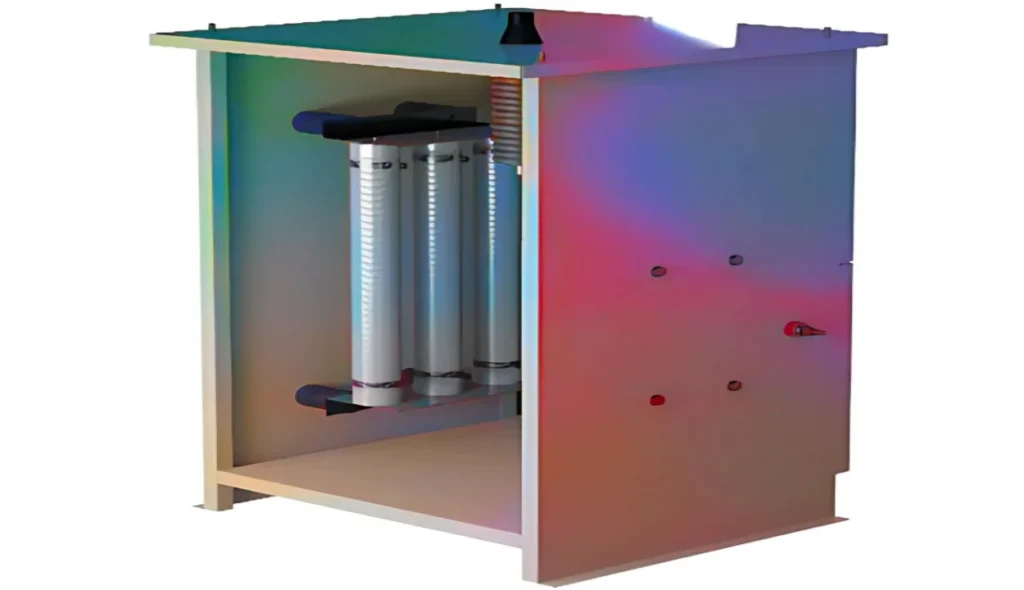
Type tests check if circuit breakers meet design specs. Specialized labs perform these tests. They verify that the breakers meet industry standards.
Mechanical testing of circuit breaker
A circuit breaker’s mechanical ability is tested by repeated opening and closing. This test ensures the breaker works at the correct speed. It must also function reliably in real-world conditions.
Thermal testing of circuit breaker
Thermal testing of circuit breaker check the temperature rise in a circuit breaker at its rated current load. Breakers must not exceed a temperature rise of 40°C for currents under 800A, and 50°C for currents 800A and above.
Dielectric testing of circuit breaker
Thistesting of circuit breaker checks the circuit breaker’s insulation. It does this by applying high-voltage stress. Both testing of circuit breaker ensure the breaker can withstand surges and maintain insulation. They are the power-frequency and impulse-voltage tests.
Short-Circuit testing of circuit breaker
Circuit breakers are exposed to simulated short-circuit conditions in a laboratory setting. Oscillograms capture vital data. This includes making and breaking currents, restriking voltages, and testing of circuit breaker during an arc’s extinction.
Routine testing of circuit breaker
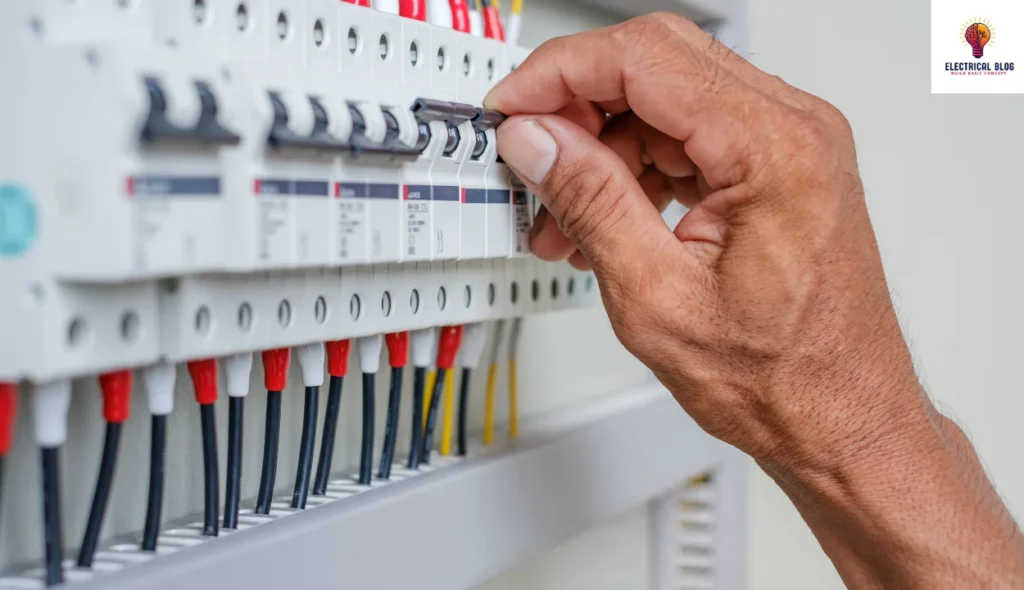
Routine testing of circuit breaker meets standards and specifications. These tests include:
Preventive Maintenance Tests: Inspect the breaker for accumulated particulates and mechanical wear. Regular maintenance prevents long-term performance issues.
Trip Test: It checks the trip coil’s current. This finds mechanical or electrical issues.
Insulation Resistance Test: It checks the insulation with a megger. It applies a known DC voltage to test the insulation’s resistance.
Key Steps in Circuit Breaker Testing
Mechanical testing of circuit breaker
We test the circuit breaker by opening and closing it several times. This checks the mechanical components for integrity. The breaker must work at the correct speed and without failure. This is to ensure reliability.
Thermal testing of circuit breaker
During this test, we pass current through the breaker. We then take temperature measurements. The temperature must stay within the limits set by the breaker’s specs. This will ensure safe operation.
Dielectric testing of circuit breaker
Dielectric tests evaluate the breaker’s ability to withstand high voltage. In power frequency tests, the voltage is slowly increased. In impulse tests, high-voltage impulses are applied to test the insulation strength. Both dry and wet tests are done on outdoor breakers to account for the environment.
Short-Circuit testing of circuit breaker
The breaker is subjected to simulated fault conditions to measure its response. Oscillograms record the breaker’s performance under high-stress conditions. They focus on making and breaking currents, restriking voltages, and contact arcing.
Common Routine Tests for Circuit Breakers
Routine testing of circuit breaker are performed regularly to verify ongoing operational reliability. Some key routine tests include:
Contact Resistance Test: It measures the resistance across the breaker contacts. This detects wear, contamination, or erosion. Excessive resistance indicates the need for maintenance.
Overload Tripping Test: A current of 300% of the breaker’s rated value is applied. This checks whether the breaker trips within the required time.
Instantaneous Magnetic Tripping Test: It checks if the breaker will trip the circuit when needed.
Testing of circuit breaker with Specialized Equipment
Several tools are used to test different aspects of a circuit breaker’s operation:
Circuit Breaker Analyzer
The circuit breaker analyzer’s timing tests show how the breaker opens and closes. This tool analyzes the breaker’s sync and pole operation, detecting any issues.
Micro-Ohmmeter
A micro-ohmmeter is used to measure the resistance of the breaker’s contacts. High resistance can indicate hot spots or inefficient current flow. If unchecked, this may lead to faults.
High-Current Primary Injection Tester
A high-current injection tester simulates extreme faults. It pushes low-voltage circuit breakers to their limits. It tests for overloads and short circuits. It verifies the breaker’s ability to trip in these critical scenarios. This crucial test safeguards against potential failures under intense electrical stress.
Benefits of Circuit Breaker Testing
Regular testing of circuit breaker provides numerous benefits:
Testing finds issues before they cause breaker failures.
Improved safety: It ensures the breaker will work in a fault. This protects both equipment and people.
Minimized downtime: Routine support diminishes the probability of spontaneous blackouts.
Collecting data for trend analysis: Historical test data finds patterns in breaker performance. This allows for proactive maintenance.
Conclusion
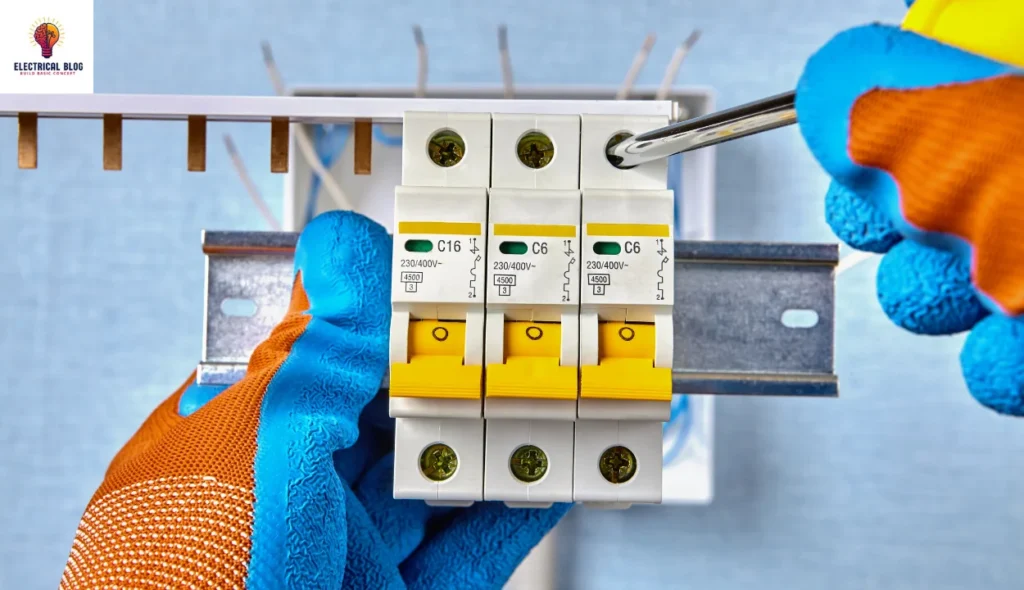
Testing of circuit breaker with a multimeter is vital. It ensures your electrical system is safe and efficient. By following the steps above, you can diagnose a faulty breaker. If needed, replace it. Always prioritize safety. Use the right tools. Consult pros if needed. This will protect your home’s electrical framework.
FAQs
How to Test a Circuit Breaker with a Multimeter?
Step 1: Turn Off All Electrical Devices on the Circuit
Before opening the circuit breaker panel, power off all devices on the circuit being tested. This minimizes the risk of electric shock or further damage to the system during testing.
Step 2: Ensure the area is dry and safe.
Dry conditions are crucial near electrical panels. Prioritize safety by inspecting the surrounding area for moisture to prevent shock hazards. Wear insulated gloves. Stand on a non-conductive surface for added protection.
Step 3: Set the multimeter to AC voltage (ACV)
Rotate your multimeter’s dial to AC voltage mode. This is usually denoted as “ACV” on the device. Household circuits typically have 120V or 240V. It depends on the type of breaker being tested.
Step 4: Open the circuit breaker panel.
Unscrew the panel cover’s fasteners with a suitable screwdriver. Carefully set aside the cover to expose the breakers. Identify the specific breaker you wish to test.
Step 5: Connect the multimeter probes to the breaker.
Touch one of the multimeter’s probes to the terminal screw on the breaker. That’s where the circuit wire is connected. The other probe should connect to the ground screw. It’s usually on a grounding bar inside the panel. The grounding bar is usually on the panel’s side. It is a reference point for measuring voltage.
Step 6: Read the multimeter’s output
Once the probes are in place, the multimeter will display the voltage reading. A healthy breaker will show a voltage close to the system’s standard. It will be either 120V or 240V, contingent upon the circuit. Assuming the perusing is zero or much lower than anticipated, supplant the flawed breaker.
How to test circuit breaker tripping?
Preparation
Prior to beginning, ensure you take the vital wellbeing safeguards. Wear PPE, as protected gloves and security glasses. Also, ensure the area is free of hazards. If you’re testing a breaker with live equipment, disconnect the power first. This will avoid shocks.
Equipment Needed
Multimeter or Clamp Meter: To measure current levels.
Test Load: An adjustable resistive load or test device that simulates overload conditions.
Test Kit: A specialized circuit breaker test set (if available).
Identifying the Trip Settings
Circuit breakers trip at a specific current level. This is usually marked on the breaker (e.g., 10A, 20A). Check the trip rating. The test must exceed this rating.
Simulating an Overload
Power up the breaker: Ensure the breaker is in the “ON” position and supplying power.
Apply an overload: Use a test load or adjustable resistive load. Gradually increase the current until it reaches the breaker’s rated trip point.
Observe the trip: If the current exceeds the trip point, the breaker should disconnect. Utilize a multimeter or clip meter to really take a look at the current. This will guarantee that the breaker is stumbling at the right level.
Testing the Breaker’s Response Time
Some tests focus not just on whether the breaker trips, but also on how fast it responds to the overload. This is known as the timing test. To perform this:
Use a Circuit Breaker Test Set. It applies a known overload current and measures how long it takes for the breaker to trip.
Check the timing: Compare the time taken to the specs for that breaker. It helps you see if the breaker is too slow or too fast.
Short-Circuit Trip Test
In some cases, you may also want to test the breaker’s response to a short circuit. Here’s how:
Use a test device to simulate a short circuit. It will greatly increase the current.
Ensure Immediate Trip: The breaker should trip almost instantly in a short circuit. This will prevent damage to the electrical system.
Reset and Verify
After the test:
Reset the Breaker: Once the breaker trips, switch it back to the “ON” position to ensure it resets properly.
Verify Functionality: After testing, ensure the breaker works and is undamaged.
Analyzing the Results
If the breaker trips within its rated current and response time, it is working properly.
Delayed or No Trip: If the breaker fails to trip or takes too long, it may need repair or replacement. It can be a safety hazard.
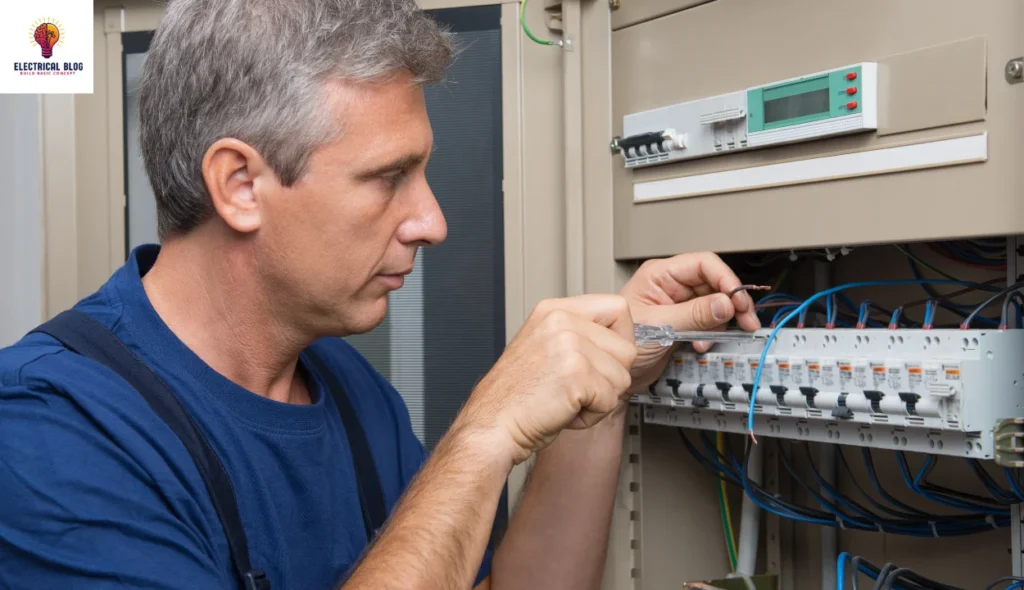
How to test circuit breaker resilience?
Preparation and Safety
Before starting any tests, always follow safety protocols:
Wear Personal Protective Equipment (PPE) such as insulated gloves and safety glasses.
Make sure to test in a controlled environment.
Disconnect the circuit from the live load to avoid electric shock.
Equipment Needed
Test Load Device: For applying overloads and fault currents.
Multimeter/Clamp Meter: To measure current levels and verify breaker functionality.
Circuit Breaker Test Set: For advanced testing of resilience under different conditions.
Short-Circuit Test
A short-circuit test subjects the breaker to extreme fault conditions. It tests the breaker’s ability to handle and isolate the fault.
Simulate a Short Circuit: Use a test device to create a controlled short circuit. This will cause a high surge of current.
Monitor the Breaker’s Response: The breaker should trip instantly. This is the first sign of resilience. It’s the ability to protect the circuit quickly, without delay.
Reset and Re-Test: After the breaker trips, reset it to “ON.” Then, run the short-circuit test several times. Ensure the breaker trips each time without malfunctioning.
Overload Test
This test applies a current slightly above the breaker’s rated capacity. It checks whether the breaker can handle overloads without damage.
Increase the Load Gradually: Use an adjustable load. It should raise the current above the breaker’s rated level (e.g., 110% or 120% of the rated current).
Observe the trip time. The breaker should trip after a certain period, depending on the overload. A longer time is fine for smaller overloads. But larger overloads should trip the breaker faster.
Repeat the test: Reset the breaker. Then, apply the overload multiple times to check its resilience to repeated tripping.
Temperature Rise Test
Circuit breakers generate heat during operation. This test assesses how well the breaker manages heat under continuous operation:
Apply a continuous load: Run the breaker at full load for a long time, as the manufacturer instructs.
Measure Temperature: Use a thermal camera or infrared thermometer to check the breaker’s temperature.
Check for Overheating: Ensure the temperature is safe. This shows that the breaker can handle prolonged use without overheating.
Mechanical Endurance Test
Resilience also includes the breaker’s mechanical durability. This test checks how many operations the breaker can handle without wearing out. It tests trips and resets.
Manually trip and reset the breaker. Switch it on and off to simulate multiple operations.
Count the Cycles: Circuit breakers typically have a rated number of mechanical cycles. You should simulate a large number of these cycles. It will verify the mechanical resilience.
Check for Wear: After a set number of cycles, inspect the breaker for wear. Look for loose parts or a reset issue.
High-Voltage Insulation Test
This test checks the breaker. It must withstand high voltages without breaking down or leaking current.
Use a high-voltage test device. It applies a voltage much higher than the rated level to the breaker’s insulation.
Monitor for Leakage: Check for significant current leakage. It would indicate weak insulation.
Test Repeatability: Run this test multiple times. It must show that the insulation remains intact after each high-voltage application.
Recovery After Testing of circuit breaker
A resilient circuit breaker should return to normal operation after testing. After each test:
Reset the breaker: Ensure the breaker returns to its operational state.
Inspect for Damage: After tripping, overloading, or short-circuiting, check for damage.
Verify Functionality: Ensure the breaker works with normal current flow.
Analyzing the Results
Consistent Tripping and Recovery: A resilient breaker trips and resets without overheating or failing.
No Physical Damage: Check for mechanical wear, melted parts, or burned insulation.
Heat Management: The breaker should manage heat effectively without reaching dangerous temperatures.
Read more: Power Factor

